Prosthetic Leg Engineering Design STEM Challenge + Animal Prosthetic Activity
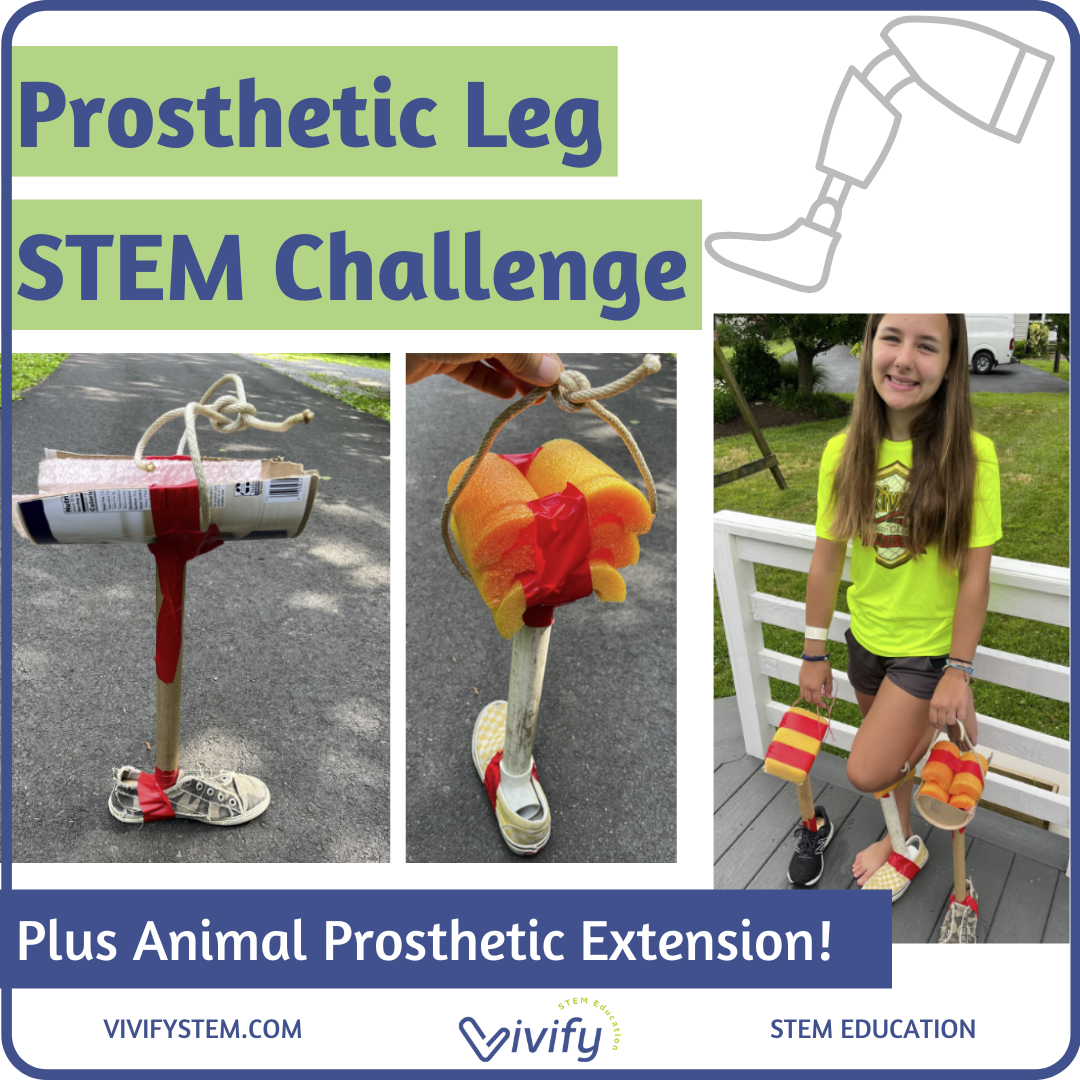
After learning the history and uses of prosthetic legs, students use the engineering design process to build a prosthetic leg that is interchangeable for multiple people. This design challenge is followed by a research extension to design a prosthetic leg for an animal.
Grades: 5th - 9th
Teaching Duration: 1 week
“My students loved this engaging and fun activity. I used it with my middle school students, and they loved it. It was a great resource to use to connect with other classroom subjects. ”
lesson overview
Prosthetic Design STEM Challenge
After learning the history and uses of prosthetic legs, students use the engineering design process to build a prosthetic leg that is interchangeable for multiple people. This design challenge is followed by a research extension to design a prosthetic leg for an animal.
Lesson Sequence:
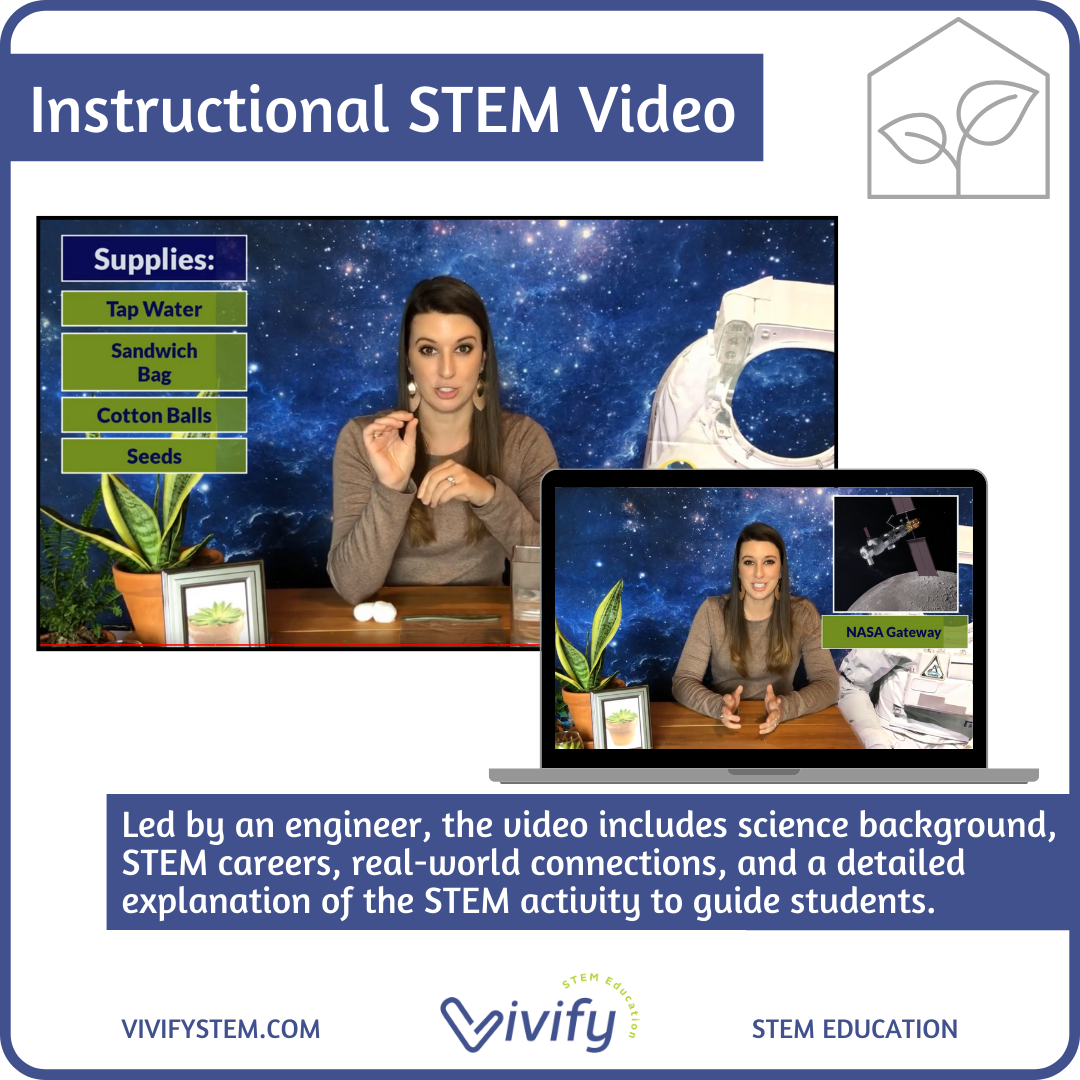
Introduce real-world careers of biomedical engineers and show a video on fabricating a prosthetic leg
Read about the history of prosthetics
Learn important concepts related to prosthetics and complete an activity sheet
Complete the "Who needs a Prosthetic?" activity sheet
Complete the Prosthetic Leg design challenge in small groups
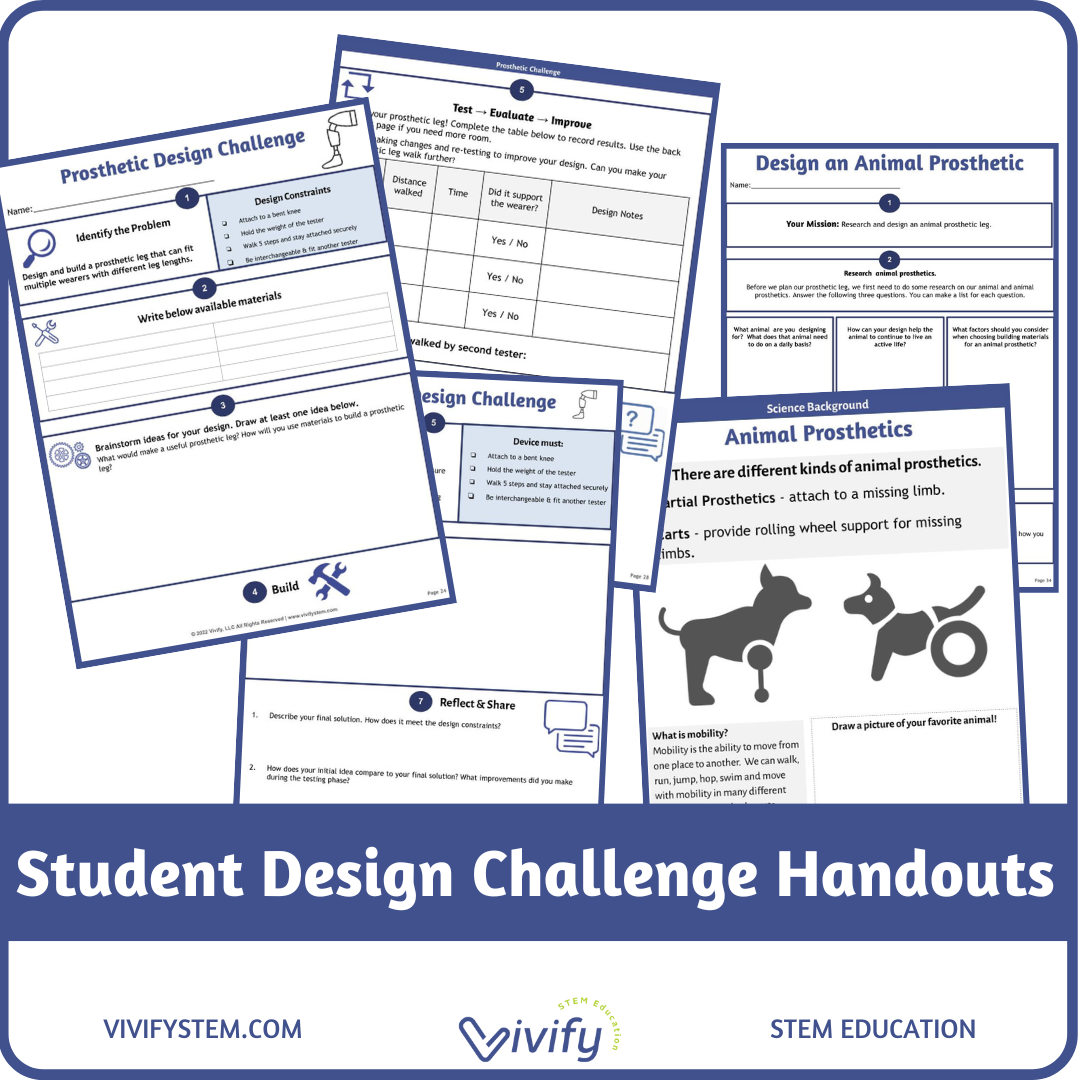
Research extension: research and design a prosthetic leg for an animal. Students will research the function and structure of the limbs of the animal chosen and then draw and label a design idea for a prosthetic.
Real-world STEM Connection:
Biomedical Engineering
Duck prosthetic leg
History of prosthetics
Real-world application of prosthetics for humans
As with many STEM activities, this challenge can be tailored to students of various skill levels and abilities.
Included in this product:
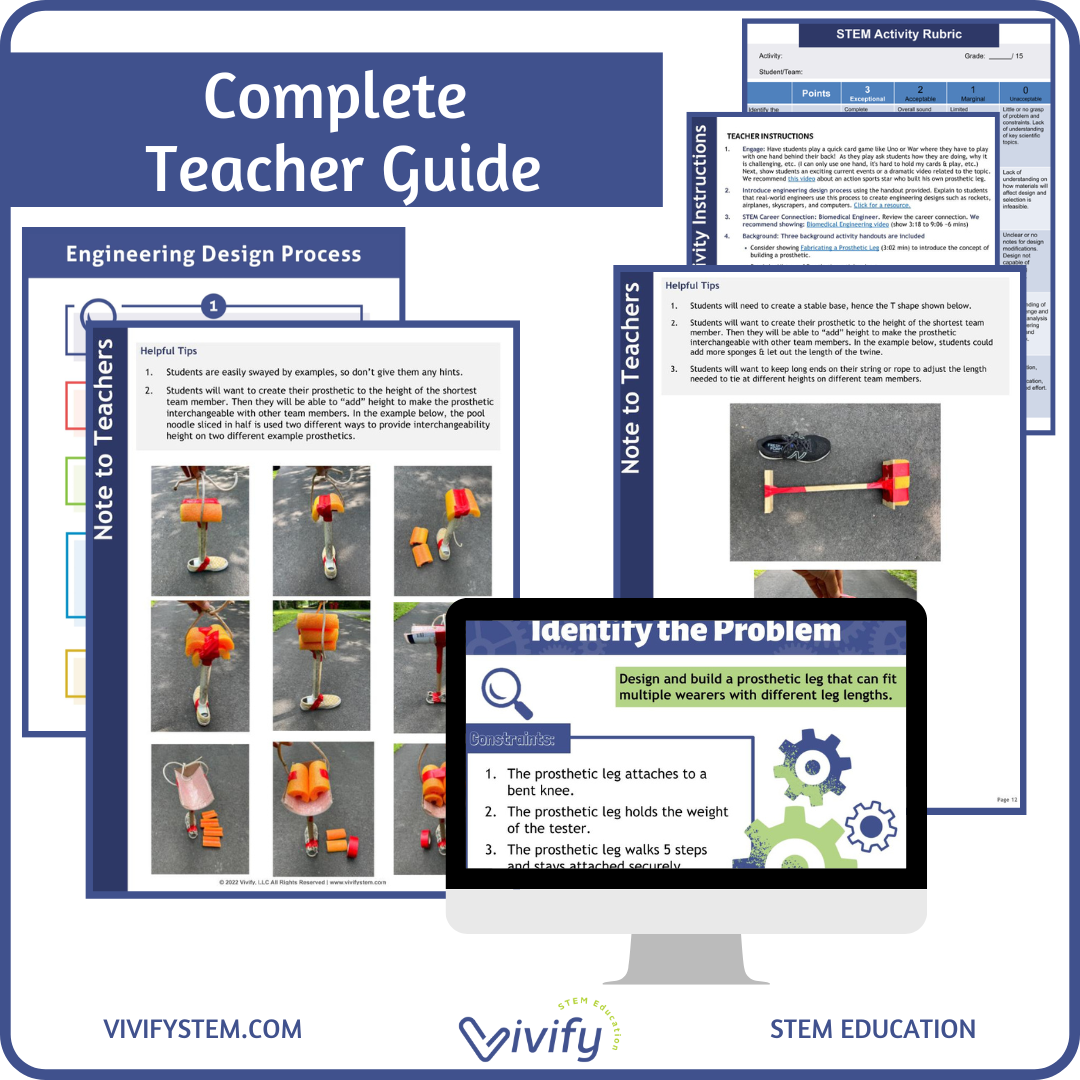
Detailed teachers guide with links to resources
Editable teacher companion presentation slides
Photos and videos of student examples
Editable printed & digital student handouts to guide them through the design process
Videos to motivate and support learning
Editable Google Slides STEM journal for distance learning
STEM Career Connections and real-world examples
Science handouts
Student recording sheet for each step of the process
Suggested Materials: Many different materials can be used for this challenge. Here are some suggestions that worked well for our students.
Duct tape, masking tape & hot glue gun with glue sticks
String, rope or twine
Thick wooden dowels, 1 x 2 wood pieces, broomstick handles, cardboard tubes, plastic pipes
Strong cardboard & regular cardboard
Sponges, pool noodles, bubble wrap & old cloth pieces
Velcro and brass fasteners
Screwdriver (to punch holes in cardboard)
Scissors or a small handheld saw
****************************************
Looking for more STEM lessons? Find the Vivify resource guide here: bit.ly/VivifyResourceGuide

